Export CSV to Google Sheets: A Complete Guide

You've exported a CSV, opened Google Sheets, and expected a clean table. Instead, every value may be sitting in one column, dates may have changed format, or postal codes and mood scores may no longer match the original file. The export itself usually isn't the difficult part. Most of the effort goes into choosing the right import path and preventing Google Sheets from guessing what your data means.
A reliable export CSV to Google Sheets workflow starts before you click Upload. Check how the file is delimited, decide whether you need a one-time copy or a refreshable connection, and use the preview to verify that private journal data still has the same rows, columns, timestamps, and values.
Table of Contents
- Understanding CSV Import Paths in Google Sheets
- Using File Import for Full Control Over Settings
- Choosing Between Drag and Drop and Menu Imports
- Exporting and Importing MicroTrack Data Safely
- Troubleshooting Common Import Pitfalls
- Best Practices for Clean Data Transfers
Understanding CSV Import Paths in Google Sheets
A CSV is a plain-text table, not a spreadsheet with fixed formatting. Google Sheets supports .csv directly through File > Import, and its import flow lets you choose a separator character and decide whether to create a new spreadsheet, insert data into the current sheet, or replace a spreadsheet. Google lists CSV alongside other supported spreadsheet formats in its official import instructions.
That flexibility matters when the file was generated by a journaling app, a database export, or a regional spreadsheet program. A comma may separate fields in one file, while a semicolon or tab does the job in another. If Sheets guesses incorrectly, it can treat the entire row as one field even though the CSV looks perfectly normal in a text editor.
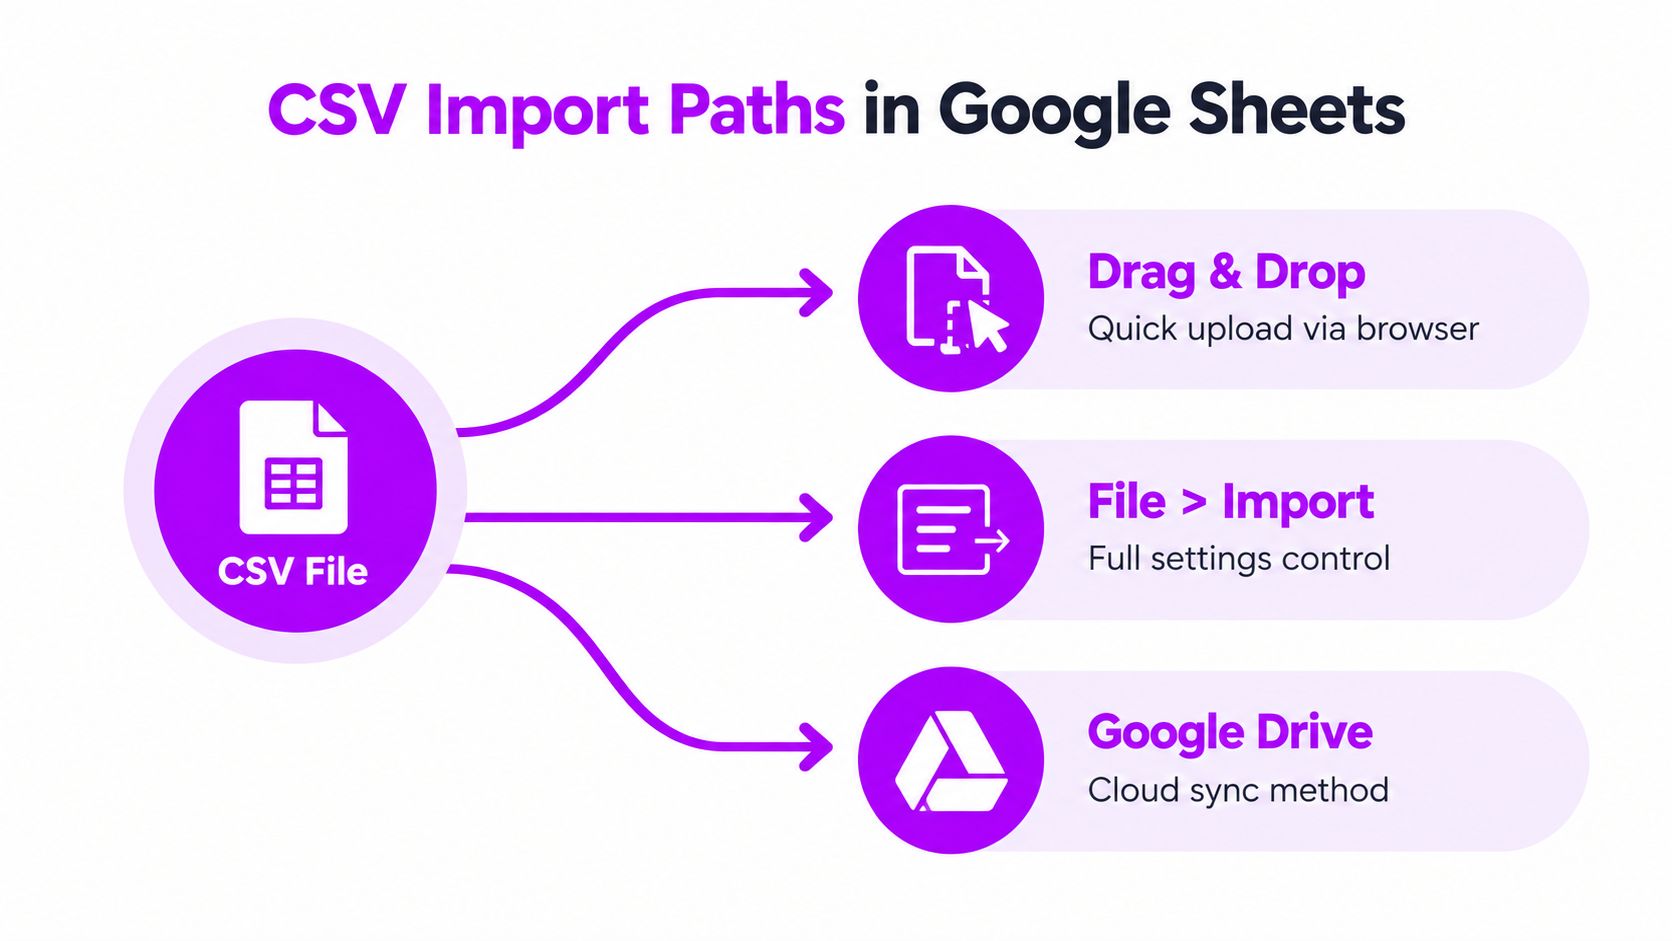
The three practical routes
Drag and drop is the fastest option for a small file you want to inspect immediately in a browser. It reduces the number of screens between your computer and Sheets, but it may not expose every parsing choice at the point where you need it.
File > Import is the dependable route when column boundaries, dates, leading zeros, or destination settings matter. It gives you a preview and the opportunity to select the separator before Google Sheets writes the data.
Google Drive suits a file you want to keep in cloud storage or open as a Google Sheet after uploading. Google documents separate workflows for downloading a CSV, uploading it to Drive, and opening the uploaded file with Google Sheets. That distinction is useful because a stored source file and an imported sheet serve different purposes.
Practical rule: Use drag and drop for a quick inspection. Use File > Import when you need to protect the structure of the data.
For a one-time analysis, importing into a new blank spreadsheet is usually cleaner than pasting into an existing worksheet. If you're exporting a private journal, MicroTrack's data export guide provides the source-file workflow before you begin parsing it in Sheets.
Using File Import for Full Control Over Settings
File import is the right choice when you'd rather inspect the data than hope Google Sheets interprets it correctly. The process is straightforward, but the settings panel deserves more attention than the upload button.
Import the file and choose a destination
Open Google Sheets in your browser and create a blank spreadsheet, or open the spreadsheet where the data belongs. Then select File > Import, choose Upload, and select the CSV from your computer. You can also drag the file into the upload area, but the menu route makes the import workflow easier to repeat.
When Sheets displays the import settings, choose the destination that matches your intent:
- Create new spreadsheet keeps the CSV separate from existing analysis.
- Insert new sheet adds the imported table as a tab in the current workbook.
- Replace spreadsheet removes the current workbook content and replaces it with the import.
For personal tracking data, a new spreadsheet or a new sheet is safer than replacing an existing workbook. It gives you a clean comparison point and reduces the chance of overwriting formulas or notes.

Set the separator before accepting the preview
The separator tells Sheets where one field ends and the next begins. Select Comma when the file uses commas, but don't assume the filename tells you everything. A CSV exported from a locale that uses commas for decimal values may use semicolons between columns to avoid ambiguity.
If the preview shows one long column, stop the import and test another option:
- Comma for conventional comma-separated files
- Semicolon for semicolon-delimited exports
- Tab for tab-separated text
- Custom when the source uses another character
A correct preview should show recognisable headers in separate columns and consistent values beneath them. If a reflection containing punctuation breaks into unexpected columns, the source may be using a delimiter inside quoted text. Check the preview rather than trying to repair the sheet after import.
Protect dates, decimals, and identifiers
Google Sheets can automatically convert text into dates or numbers. That may be convenient for ordinary business data, but it can damage personal records. A timestamp can change display or interpretation, a leading zero can disappear, and a value that looks like a date can become a numeric serial.
Use the import option that controls automatic conversion when it appears in your workflow. If the file contains dates, postal codes, IDs, decimal values, or mood-scale entries, compare the preview with the original CSV before confirming the import.
The preview is your last low-cost validation step. Once Sheets has converted a value, fixing the visible formatting may not restore the original text.
After import, compare the header names, scan the first several rows, and check a few records near the bottom of the dataset. Then freeze the header row and apply filters only after you're satisfied that the columns landed correctly.
Choosing Between Drag and Drop and Menu Imports
Drag and drop wins when speed matters more than configuration. You can place a small CSV into the browser and get to the data with little ceremony. That makes it useful for checking an export, reviewing a short list, or confirming that a file opens before you build formulas around it.
The trade-off is control. When a file has an unusual delimiter, sensitive date fields, or values that must remain text, the File > Import route gives you a more deliberate checkpoint. The menu workflow also makes the destination explicit, which helps when the current spreadsheet already contains formulas, charts, or other tabs.
A simple decision table
| Situation | Better route | Reason |
|---|---|---|
| Quick look at a small export | Drag and drop | Fastest path to a usable preview |
| Unusual delimiter | File > Import | Lets you select the separator |
| Leading zeros or date-like text | File > Import | Provides more control over conversion |
| Data belongs in a new workbook | File > Import | Makes the destination choice explicit |
| File already stored in Drive | Google Drive workflow | Keeps the source in cloud storage |
| Repeated analysis from changing data | Consider a connected workflow | A static upload won't refresh itself |
Google Sheets also supports importing common formats such as .txt, .tsv, .xlsx, .xlsm, and .ods, not only CSV, as described in its supported import formats. That doesn't mean every file should be handled identically. A tab-separated file should be parsed as tab-delimited, while an Excel workbook carries more structure than a plain-text export.
For browser-based ingestion, drag and drop is generally more comfortable for smaller files. Large CSVs can become sluggish or unstable before you reach a formal limit, and independent guidance notes that a file with 500,000 or more rows can be problematic in practice. That row threshold is a warning about usability, not a promise that every file below it will work smoothly. The CSV import guidance for Google Sheets also recommends treating performance as part of the decision, not just asking whether the upload technically completes.
Use drag and drop when the file is familiar and disposable. Use the menu when the data is valuable, private, or difficult to recreate.
The following walkthrough demonstrates the kind of browser-based handoff involved in moving exported records into another workspace:
Exporting and Importing MicroTrack Data Safely
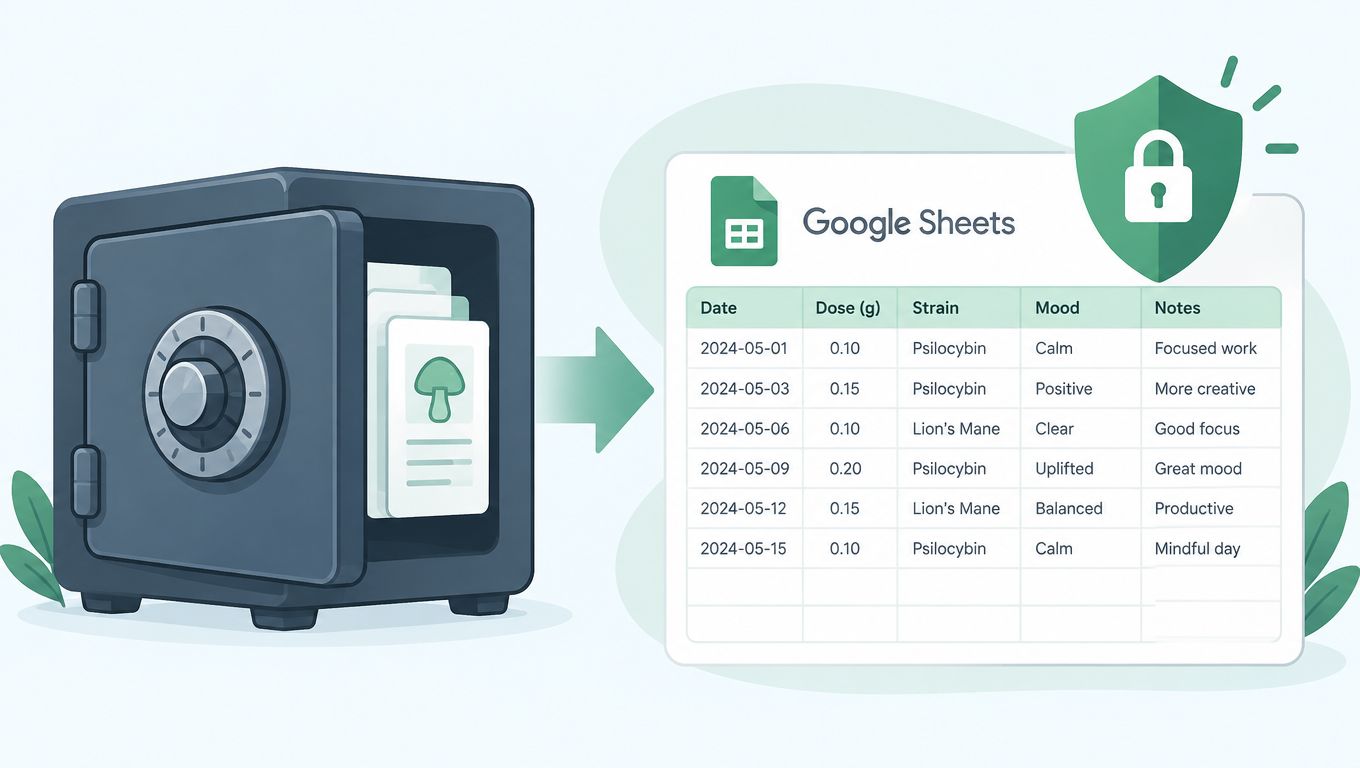
A personal journal deserves a more careful workflow than a throwaway spreadsheet. MicroTrack records can include dose details, mood values, timestamps, schedules, and later reflections. Those fields often mix numbers, dates, short text, and punctuation, which gives automatic formatting several opportunities to make an unwanted assumption.
Start inside MicroTrack and open the data export function. Export your full history as a CSV, then save the file locally with a clear filename. Keeping the original export untouched gives you a reference copy if you later sort, filter, or transform the imported data.

Use a blank spreadsheet first
In Google Sheets, open a new blank spreadsheet and choose File > Import. Upload the MicroTrack CSV rather than pasting its contents into a worksheet. Importing the file preserves the parser's ability to recognise column boundaries, while pasted data can bring along accidental formatting or place multiple fields into the wrong region.
Choose Create new spreadsheet or Insert new sheet, depending on whether you want a separate analysis file or a tab inside an existing workbook. Avoid replacing a workbook that already contains calculations or visualisations.
Next, inspect the preview. Confirm that the headers are separated, the first records appear under the right headings, and reflections containing commas remain in a single field. If the values appear in one column, change the separator before proceeding.
Preserve mood values and timestamps
Treat mood values as data, not decoration. If a scale is imported as text, you can later convert a verified numeric column deliberately. If Sheets converts a timestamp unexpectedly, you may lose the distinction between the original recorded time and a reformatted display.
Before completing the import, look for an option to disable automatic conversion of text into numbers and dates. This is especially important for:
- Mood entries, which should retain their original values
- Timestamps, which should remain consistent across records
- Dose details, where punctuation or units may appear in text
- Blank fields, which should stay blank rather than inherit formatting
- Reflections, which may contain commas, semicolons, or line breaks
After the import, make a read-only copy of the original sheet or preserve the untouched CSV separately. Work from a duplicate when adding formulas, pivot tables, or charts. Filtering a personal history can help you examine patterns, but it shouldn't change the underlying record.
MicroTrack provides encrypted data handling in transit and at rest, does not sell or share entries, and supports one-click deletion according to its product information. You should still treat the downloaded CSV as a sensitive local file. Store it only where you're comfortable keeping private journaling data, and delete temporary copies you no longer need.
The MicroTrack CSV export reference is useful when you need to confirm the export step before opening Sheets. Once the file is imported, use a separate analysis tab for calculations so the original records remain easy to audit.
Troubleshooting Common Import Pitfalls
Most broken imports fall into three categories: the parser used the wrong delimiter, Sheets converted a value, or the file is too large for a stable workbook. Diagnose the first visible symptom instead of immediately editing cells.
One column contains the entire row
This almost always points to a separator mismatch. A semicolon-delimited or tab-delimited file can appear as a single unbroken field when Sheets expects commas. Return to the import dialog, select the separator used by the source, and inspect the preview again.
If you don't know the delimiter, open a copy of the CSV in a plain-text editor and inspect the punctuation between the first few fields. Don't save changes from the editor unless you understand the file's encoding and line-ending settings.
Dates, decimals, or zeros changed
Automatic conversion can reinterpret values during import. Postal codes and identifiers can lose leading zeros, decimals can display differently, and date-like text can become a date value. Guidance on common CSV import errors identifies delimiter and locale mismatches, along with automatic text and date conversion, as recurring causes of damaged-looking imports.
The safest fix is to re-import the original file with conversion controls adjusted. Repairing an already converted column may change its appearance without recovering the exact original value.
The file won't load or the sheet becomes slow
File size isn't the only constraint. Uploads through File > Import are commonly reported to accept files up to 100 MB, but the spreadsheet still has a 10 million-cell limit in the guidance commonly used for planning large imports. A CSV with modest file size can exceed that limit if it has many rows and columns. See the Google Sheets file-size guidance for the distinction between upload size and populated cells.
Estimate the resulting cells as rows multiplied by columns before importing. If the workbook is technically within its ceiling but remains slow, split the data by period or category, remove unnecessary columns, and keep heavy formulas away from the raw-data tab.
Best Practices for Clean Data Transfers
A clean transfer is mostly a sequence of small checks:
- Keep the original: Never use your only CSV as the working copy.
- Inspect the delimiter: Confirm comma, semicolon, tab, or custom parsing in the preview.
- Protect sensitive fields: Disable automatic conversion when identifiers, timestamps, or mood values must remain exact.
- Import into a blank sheet: Add analysis tabs after the raw data is stable.
- Estimate cells: Rows multiplied by columns is more useful than file size alone for planning.
- Split large histories: Separate unwieldy datasets before formulas and charts make the workbook heavier.
- Review privacy settings: Follow MicroTrack's data privacy practices before storing an exported journal in another service.
Google Sheets also offers formula-based ways to fetch CSV data from a live URL, but that route has different limits and is not equivalent to uploading a local file. Current guidance reports that IMPORTDATA is constrained to about 50,000 cells per call, so it isn't automatically the right solution for a large or frequently changing export. The Google Sheets workflow overview is a useful reference when choosing between a static import, Drive-based opening, and a live formula.
For most personal exports, the dependable pattern is simple: preserve the source, import through the menu, verify the preview, and analyse a copy.
MicroTrack gives you a structured place to record mood, dose details, schedules, and reflections, then export your history as CSV for review in Google Sheets. If you want a private journaling workflow that keeps your records searchable and ready for careful analysis, visit MicroTrack and start tracking without a credit card.